27 July 2009

Tabula Rasa pt 2: Decorating tips for when you have no clue how to start

Free Color Shade Samples Stock Photo

Okay, so to continue where Tabula Rasa pt 1 left off, here are more tips to help you get started decorating your place: 

6. Respect the building. Anyone who's read this blog before knows what I think of people who move into historical buildings, gut them, and replace the interiors with contemporary features. Not only is it anathema to destroy something that can never be replaced, but it doesn't make sense from a design perspective, either. Is there anything more jarring than being confronted with an ultra-modern interior in a Victorian building? Or how about gingerbread trim on a 1960s bungalow? I've seen both far too many times. If you respect the inherent nature of the building you live in and decorate accordingly, you're halfway to having a great style right off the bat. And if you insist on having an interior that clashes with the architecture, at least keep it limited to furnishings and artwork. Once mouldings and woodwork are gone, they're not coming back. 
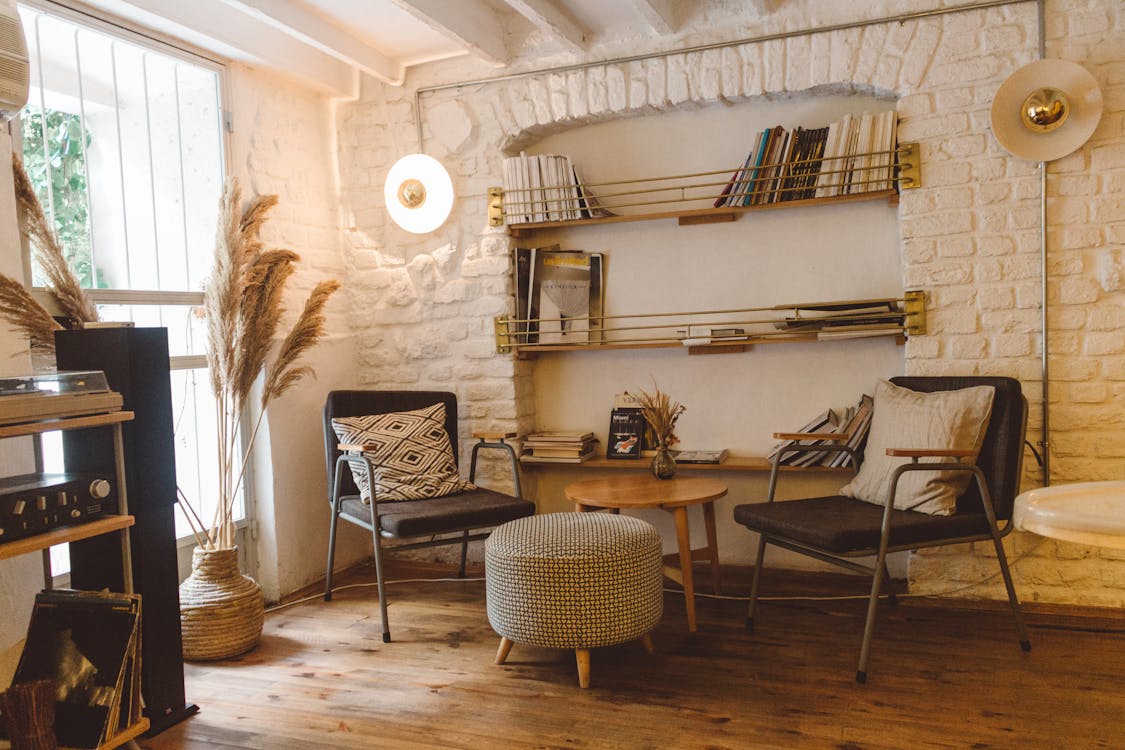
Free Round Brown Wooden Table Between Two Chairs and Ottoman Chair Stock Photo

7. Enhance existing architectural details and minimize flaws. This requires some creativity, especially if your budget is limited. For example, you've got great floors? Leave them uncovered. Stuck with ugly broadloom? Cover with area rugs (but not before first checking to see if you've got great floors hidden underneath!) Beautiful wood trim? Leave it (wood is naturally attractive and paint is just about impossible to remove). Cheesy 1970s "wood" panelling? If you can't remove it, find out if there's a way to paint it, or cover it with fabric, or hide with large furniture and artwork, or--if there's no alternative--go with a 1970s look in the room and call it retro. It helps to have some appreciation for imperfections, as well.
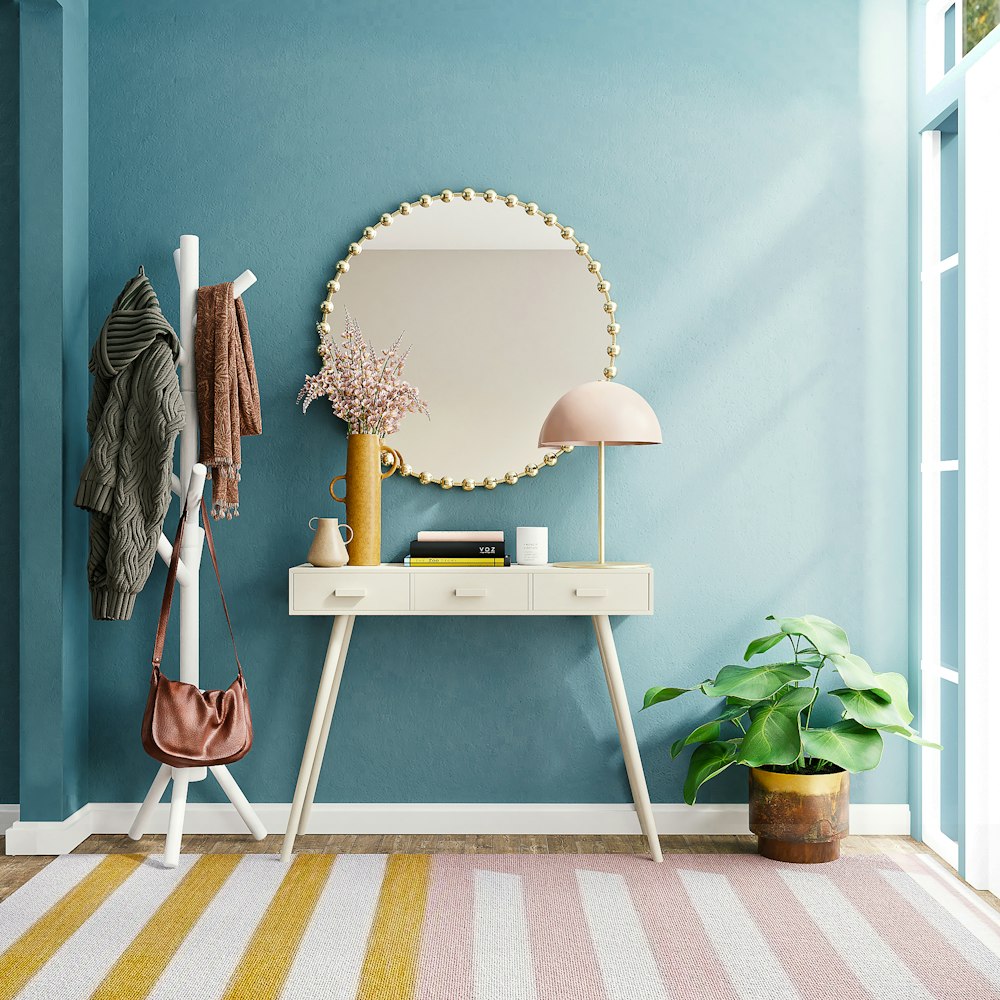

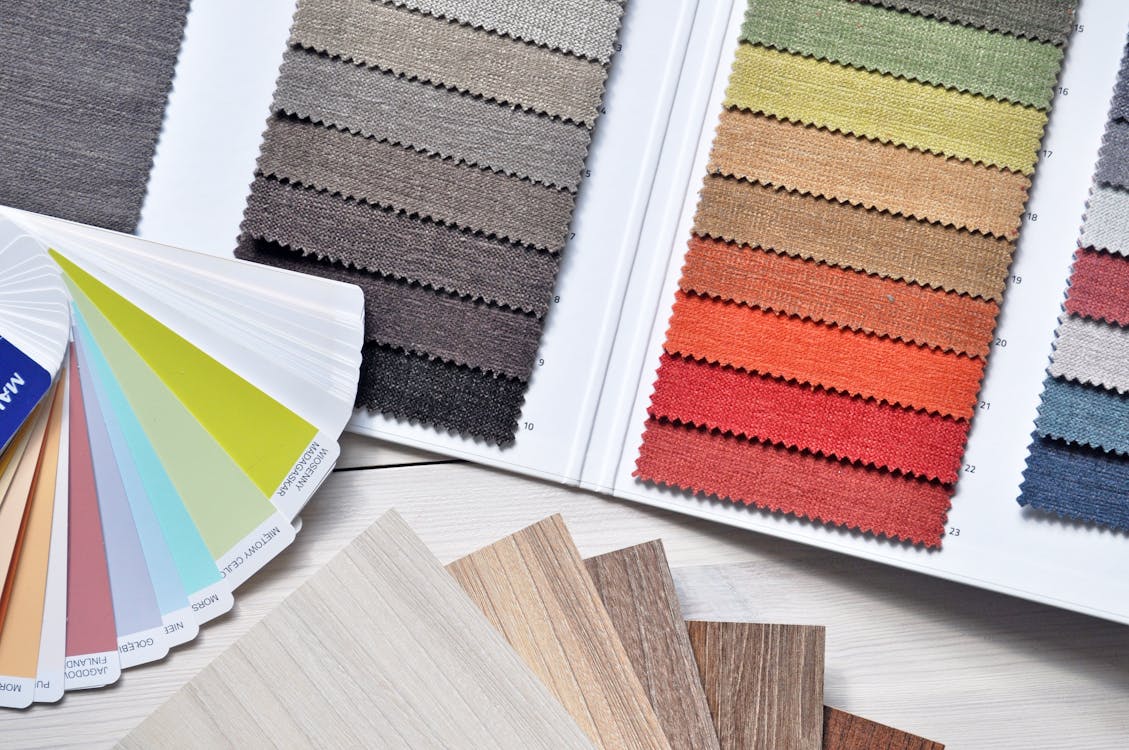
8. Don't fear colour! Sorry--white and beige are not ideal neutral backdrops to your decor; they're overwhelmingly boring and lacking in personality. For the minority who really do enjoy being completely surrounded by lack of colour, carry on. For everyone else who is just too scared to experiment, take comfort in knowing that painting is neither difficult nor overly expensive. There's lots of books, sites, pamphlets, and people around who can help you with technique and colour choice. Spending some time (not a lot--it's not rocket science) reading up on colour theory should help even more. And a good rule to remember is to keep ceilings and floors neutral--that way your rooms won't be overpowered by colour. You can always start with just a wall or two and go from there. The best thing about paint is that if you get bored or don't like it, you can change it again. 


9. Speaking of your walls, don't neglect to hang art, by which I don't mean only original works by well-known artists. Art can also consist of anything from a nicely framed print or poster to decorative architectural pieces to vintage advertising signs to your own craft projects to pretty much anything you like and can hang on a vertical surface. Frankly, it's depressing to go to someone's home and be confronted by bare walls. Imagine what it's like living there! And for those of you who can't put holes into the walls, there are all kinds of new hangers available that don't damage surfaces. Consider empty spaces to be your blank canvas. Oh, and on a related note, don't destroy books by ripping out the plates and illustrations. Cheap--appropriate--sources of attractive artwork are readily available. If you really love something you've seen in a book, check to see if it's available elsewhere. If not, consider taking it to a printer and having a poster made. 


10. Don't get too kitschy with themes. Yes, themes are great, but nothing ruins them faster than getting too literal with them. A beach theme can be achieved with colours and materials (say, rattan and opaque glass) rather than seashells glued to the walls and mermaids on the tiles. Look for the basic elements of your theme of choice and incorporate those, rather than over-the-top obvious representations. Do you think anyone in Paris has an Eiffel-tower lamp at home? When it comes to themes, you want to show, not tell. Don't forget to come back for my final tips in Tabula Rasa pt 3!

[Edited for formatting, to update link, and to add photos. Follow me on my official site: AspasiaSBissas.com]

22 July 2009

Tabula Rasa pt 1: Decorating tips for when you have no clue how to start

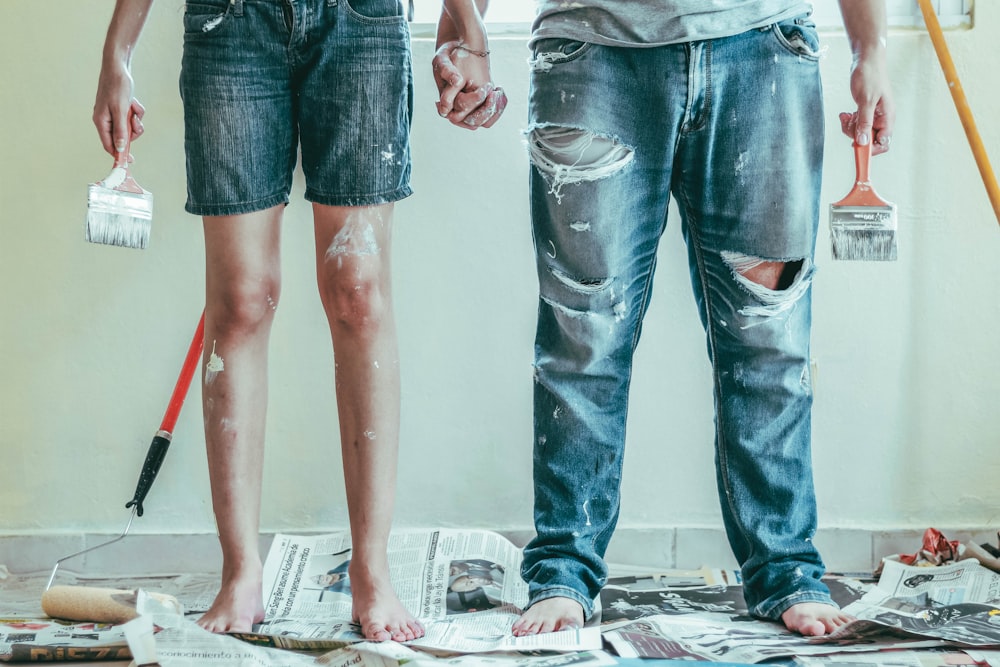
2 person wearing blue denim jeans

Emailing a friend about getting together next week, I jokingly threatened to redecorate her new place while she slept (she's working nights at the moment). But when she replied that she could use the help since she has no idea where to start, I got to thinking: how many people don't bother trying to decorate because they simply don't know where to begin? 

I'm no professional but I've always loved decorating. I pursue my interest via books, magazines, a few TV shows, visits to historic buildings and museums, and by constantly experimenting with my own house. And maybe occasionally stealing peeks (ahem, from the street) into people's windows as I walk by (hey--if they didn't want me looking, they'd invest in some curtains!) 

The amount of time I've devoted to what is essentially a hobby has been worth it, though. The SO and I are happy with the results, and the compliments I receive from visitors aren't too shabby, either! So in the interest of helping out my friend (and anyone else who might be interested), I've come up with a list of tips on decorating from scratch. Feel free to comment with questions; I'll do my best to answer... 


1. First and foremost, start by looking through decor magazines and books, not only for inspiration, but also so you can figure out what styles appeal to you and which don't. For that matter, take a look at your friends' places and even stores you shop at, as well. You should make note of anything you strongly like or dislike. Pay attention to things like colour, materials, shapes, ornamentation (or lack thereof), rustic vs high tech, and so on. This research might seem daunting at first, but it will pay off (and can be a lot of fun to boot). Once you narrow it down, it'll be much easier to form a cohesive look in your home. 

blue sofa with white and blue towel

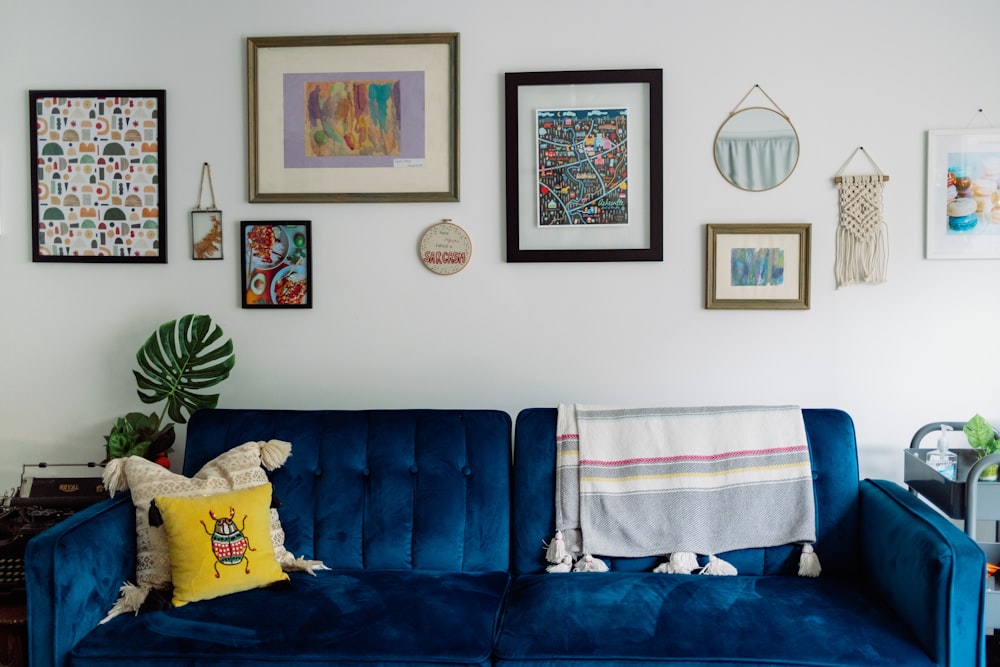
2. Don't be afraid to mix and match different looks/styles. If you think something looks good together, then that's what matters. At the same time, though, too many styles can lead to a cluttered, disorganized feeling. A good guideline is to either stick within one time period (e.g., all antique OR mid-century retro OR contemporary) or ignore periods but limit yourself to no more than three different disparate styles (e.g. Urban country with a side of retro, or mid-century modern with Moroccan elements). 

This was the height of fashion once
This was trendy once.


3. Once you actually get started decorating, remember to avoid anything trendy when it comes to the long-term fixtures in your home. Anything that won't be replaced within the next five years (kitchens, bathrooms, built-ins, appliances, furniture) should be limited to classic designs and colours. Not just neutrals necessarily, but if you're buying that fuchshia couch just because it's THE colour this year, be prepared for it to be THE colour for several more years as well. Changing a house is not like changing a shirt--you can't do it every time the fashions shift. Instead, satisfy your lemming urges by buying trendy accessories like cushions and towels--they're much easier (and cheaper) to replace when you inevitably get bored of them. 

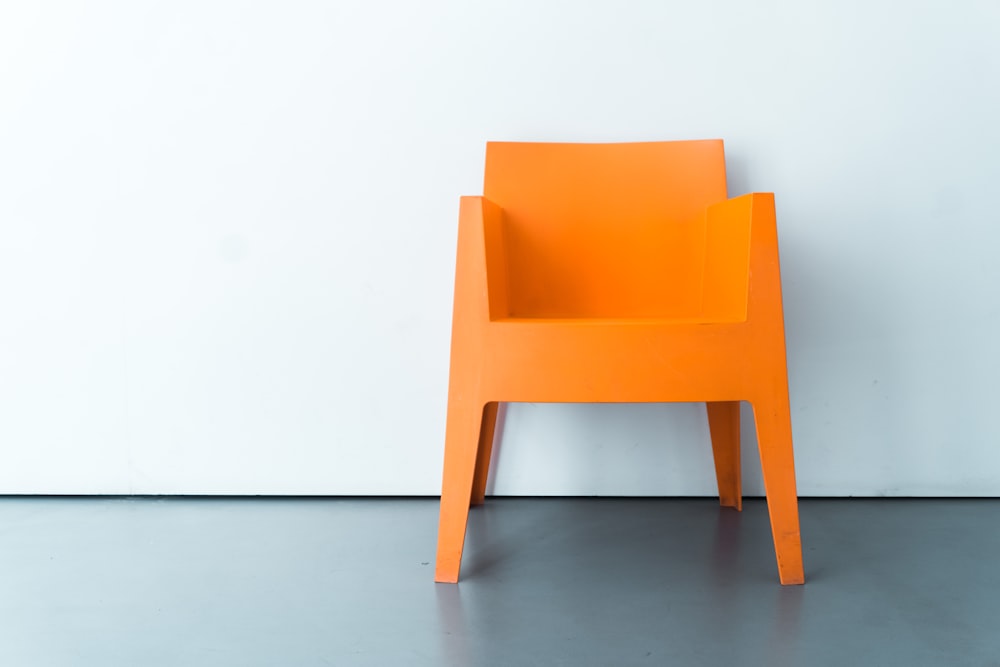
orange plastic armchair

4. Don't sacrifice comfort for style... No matter how good it looks, you'll end up hating it if it's not pleasant to use. 

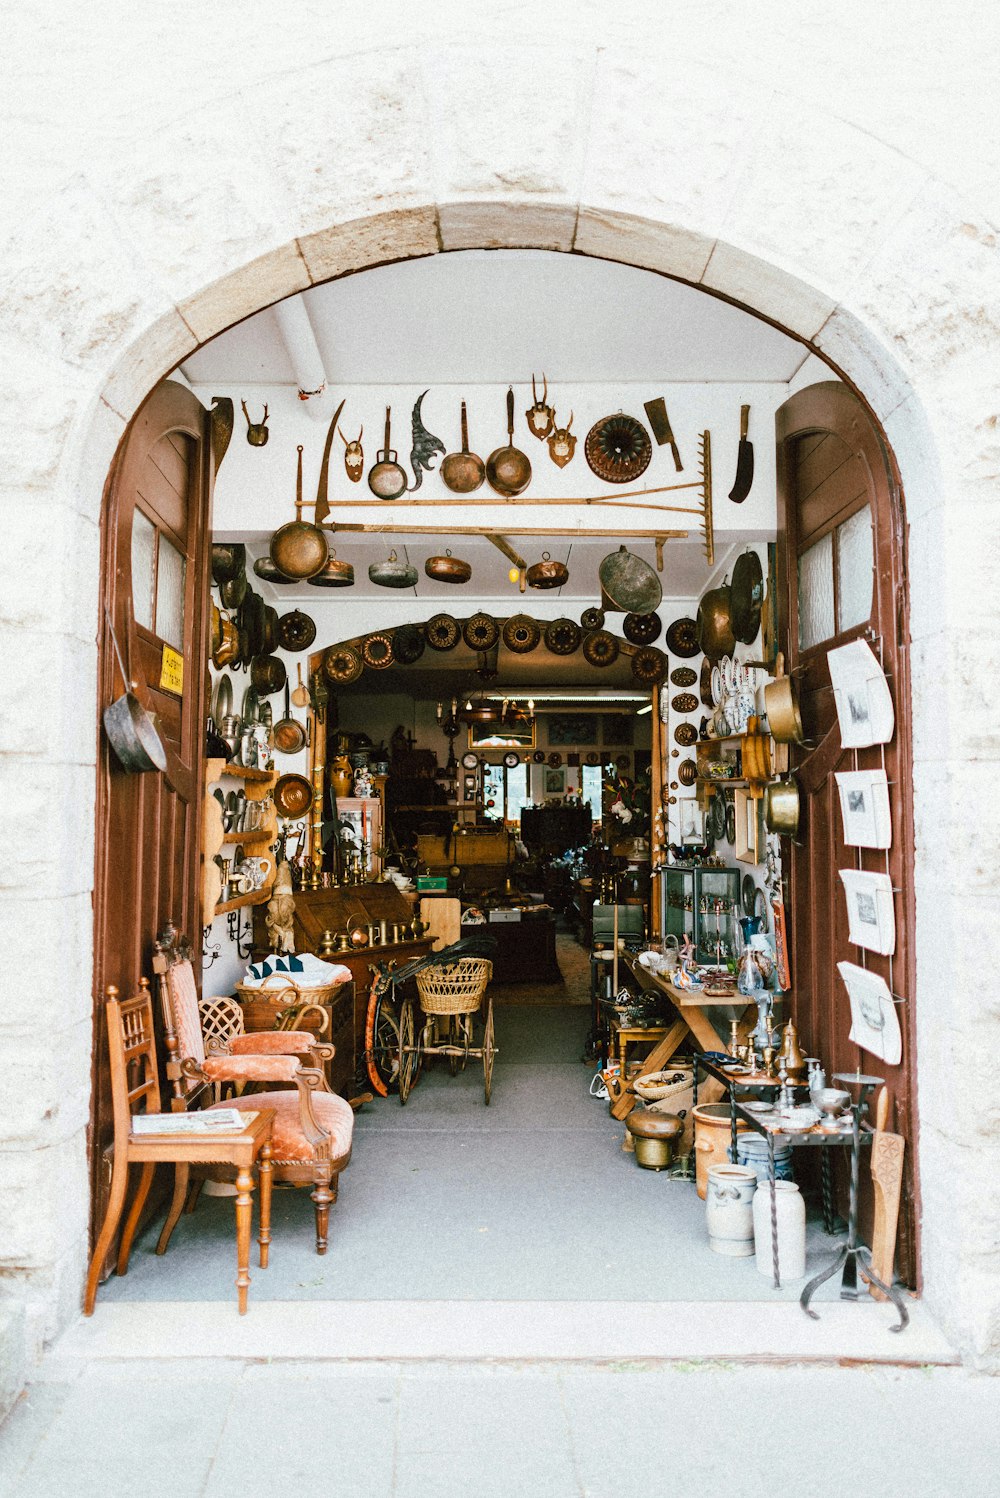
 empty chairs and tables with kitchenware display

 5. ...and don't sacrifice style for price. Sure, you can get basic, utilitarian furnishings and you'll save a bundle, but you'll also end up with an ugly home you'll probably hate spending time in. The good news is that attractive bargains do exist! It might involve some extra effort, but it's so worth seeking out comfortable, stylish--affordable--items for your home. 

To be continued in "Tabula Rasa pt 2"!

[Updated for formatting and to add photos. Follow me on my official site: AspasiaSBissas.com]

18 July 2009

House of Shadows and Light

Just liked these patterns and colours made by the sun as it shined through our foyer window. The green is from bottles on the windowsill. 

And sometimes rainbows sneak in too... 

17 July 2009

For your continued amusement...


Just a quick update to let you all know I've branched out! Check out my new blog, fresh off the presses: Blood Lines. But don't worry, Whimsy Bower will still keep me as busy as ever :)

(Edited to update and add photo. Follow me at my official site: AspasiaSBissas.com)


14 July 2009

How to Make Tea-riffic Iced Tea

I have a confession to make: 

I'm a tea person who doesn't drink much tea. 

I love everything to do with tea. The ritual, the cups and pots, the various steeping mechanisms, the fancy little sugar cubes and swizzle sticks, even the names of teas and the way they're packaged. I have a decent-sized collection of tea paraphernalia. But I just don't drink it. 

I blame this on my innate abhorrence of hot beverages. I don't know why but I prefer my drinks ice cold, or, if I must--lukewarm. And then there's my fear of making iced tea. 

The only greater mystery than the process of iced-tea making is the mystery of why I found it so intimidating in the first place--it's just about the easiest thing in the world to make. And yet for far too long, if I wanted my tea sweet and cold (which of course I did), I was forced to resort to the kind that came pre-packaged in bottles and cans. A sad state of affairs. 

I even ended up buying an "Iced tea maker," (that's how it was described at the time, anyway) hoping it would demystify the process. It didn't. It does, however, steep the tea nicely and then strain the leaves out for your convenience. 

But as my tea stash threatened to gain control of the pantry in a hostile takeover, I had to put my fears aside and just go for it. With no small amount of trepidation, I boiled, steeped, strained, sweetened, and chilled. And it turned out great. Who woulda thunk it? So in the interest of helping out anyone else who might also be intimidated by the mystical tea-making process, I offer a tutorial of sorts. 

Easy Iced Tea 

You'll need: 

a container in which to boil water 

a container in which to steep the tea (this can be the same as the pitcher, if you have an easy way to strain out the leaves) 

a pitcher 

tea bags or leaves (general guideline: 1 bag or tsp per cup of water) 

sweetener, if desired 

Boil water. Meanwhile, place tea in steeping container. If using a sweetener that doesn't instantly dissolve (like honey), add to the pitcher now. Remember--it's easier to add more sweetener later than it is to correct tea that's too sweet. 

I'm a honey fan. Doesn't it look gorgeous?

When water is ready, pour over tea in steeping container. Check the guidelines on the package to figure out how long your tea needs to steep. Generally, 3 to 4 minutes is fine for black or green tea. Four to six minutes works well for herbal tea. 

If you want to get a handy gizmo like mine, they're not too expensive. Just keep in mind you need to get a pitcher with an opening that is smaller than the base of the tea maker (the base needs to fit over the rim of the pitcher to work). If you don't have such a gizmo, remove tea bags (easy) once steeped, or strain tea through a sieve into the pitcher to catch the loose leaves (messy, but still pretty darn easy). It might be worth it to you to invest in a large tea ball or removable strainer so you don't have to worry about sieves and whatnot. That also saves you needing a separate steeping container.

  Once the tea has been strained, you can add it to your pitcher--stirring if necessary to dissolve any sweetener you added. Let it cool to lukewarm before putting it in your fridge to get properly cold. 

Theoretically you can use it right away by adding ice cubes, but in my experience that just leads to watery, warm tea rather than cold tea. It's worth waiting for it to get cold in the fridge. 

Our steeping gizmo is on the small side (it holds about 3 1/2 cups, give or take), so I make two batches and pour it all into the much larger pitcher. In total, we get about 6 servings. 

Once it's cold, you can pour it into your fanciest cups and add ice, lemon slices, more sweetener, fancy paper umbrellas, swizzle sticks shaped like naked ladies--whatever you like (I won't judge, honest). As for me, my tea stash doesn't stand a chance.

(Edited to alter title, and for formatting and clarity. Follow me on my official site: AspasiaSBissas.com)

05 July 2009

Day at the (Royal Ontario) Museum

My friend Amy (of Blue Lotus fame) and I decided to take in the Wedgwood exhibit at the ROM before it--and she--left for unknown adventures in exotic ports. Sadly, both are out of here as of tomorrow, but it was fun while it lasted! Detail of the ceiling in the museum's original entrance area: 


The beginning of the Wedgwood exhibit was marked by this gorgeous Jasperware vase (c. 1790):


The black basalt items were stunning, but not the easiest to photograph... 


Chess pieces: 


Spoon rest: 


Writing set (including inkwell): 


"Caneware," Pie Dish, c. 1815-1840: 


Perfume bottles: 


This was probably my favourite piece there: 


Pipe: 


Miniature teacup (regular-sized dinner plate): 


Definitely my favourite plate on display: 


Note the figure sitting on the lid: 


I wasn't as thrilled with the modern pieces (what a surprise), but I did like the handle on this cup: 


From Wedgwood, we had a chance to look around some of the other (permanent) exhibits. If I could get a spice box like this one, I would be a happy girl: 


I think this was here to highlight miniature silver smithing techniques. I just loved it because it's so tiny:


More miniature pieces of silverware: 


I loved the glassware/crystal exhibit: 


Only part of the display of paperweights: 


We discovered this little guy in the gemstone exhibit. He's carved from chalcedony agate with sapphire eyes on an aquamarine and 18-carat gold base. I don't know what this says about me but he was my favourite thing in the entire exhibit (including all the amazing jewellery):